Social media is full of gorgeous nailfies: super stylish shots that highlight perfectly manicured nails. If you dream of capturing the nail art you've just created and proudly sharing it with your friends and community, here are our best tips for taking a pro-level nailfie!
1. Light: your best ally 💡
The key to a good nailfie? Natural, soft, and even lighting.
Tip: Take your photo near a window to take advantage of daylight. Avoid flashes, which create harsh shadows and alter the colors of your polish. If you're taking the photo in the evening, use a lamp with white light, similar to natural light.
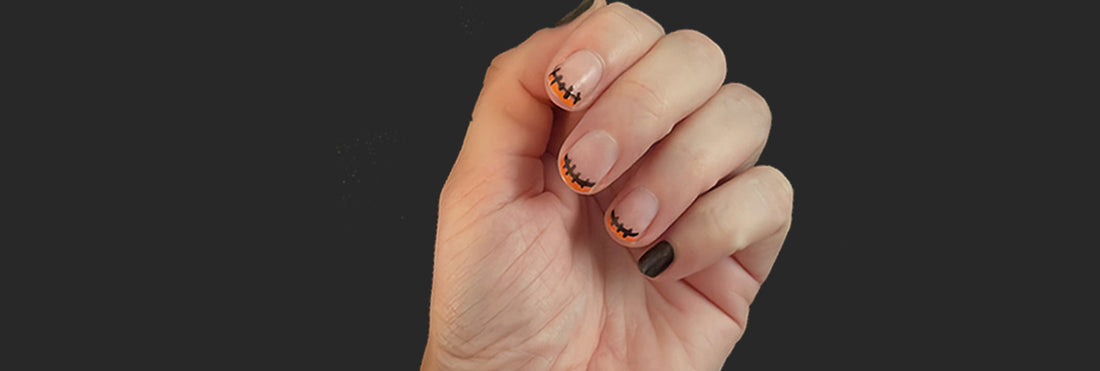
2. The right angle: capture attention
Playing with angles is essential to showcase your nail art.
Tip: Experiment with several hand positions: fingers aligned, slightly spread out, or even holding an object (like your YAKA kit or a cool accessory). The goal is to find an angle that is natural while highlighting the details of your nail art.
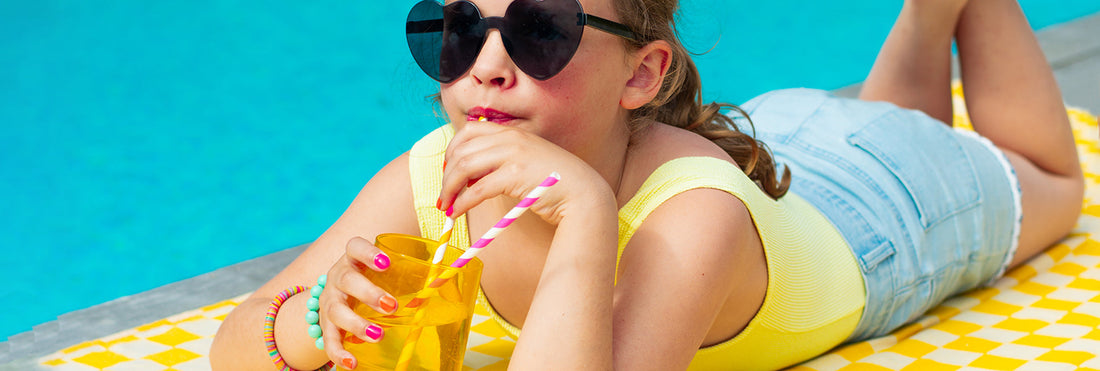
3. The background: keep it minimalist
A well-chosen background enhances your nail art without distracting from it.
Tip: Opt for a plain background (a table, a wall, or even a fabric) or objects related to your nail art (flowers, jewelry, or fashion accessories). Avoid overly busy backgrounds that can make the photo confusing.
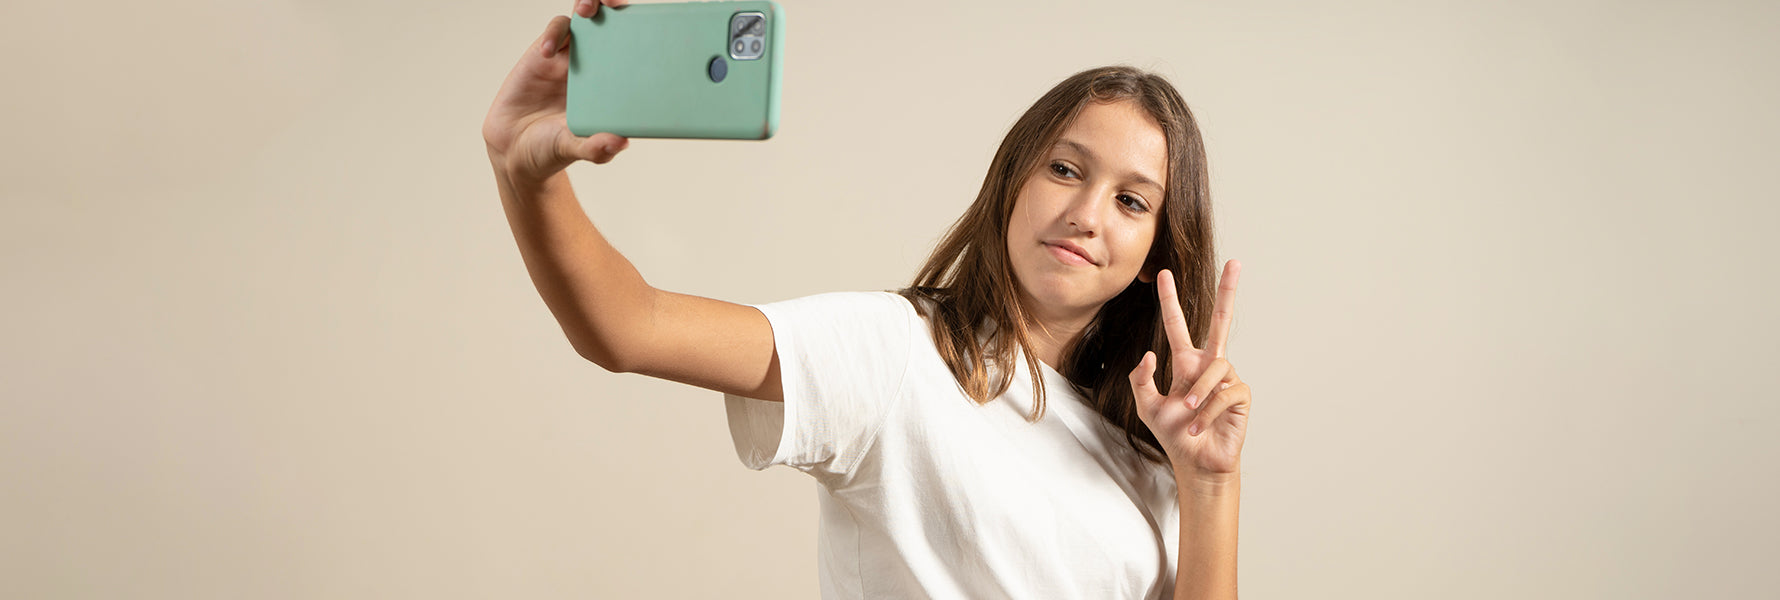
4. Focus: no blur, please! 📷
There's nothing worse than a blurry nailfie where the details of your nail art don't stand out.
Tip: Tap your smartphone screen to focus on your nails before taking the photo. Also, make sure the device is stable to avoid camera shake.
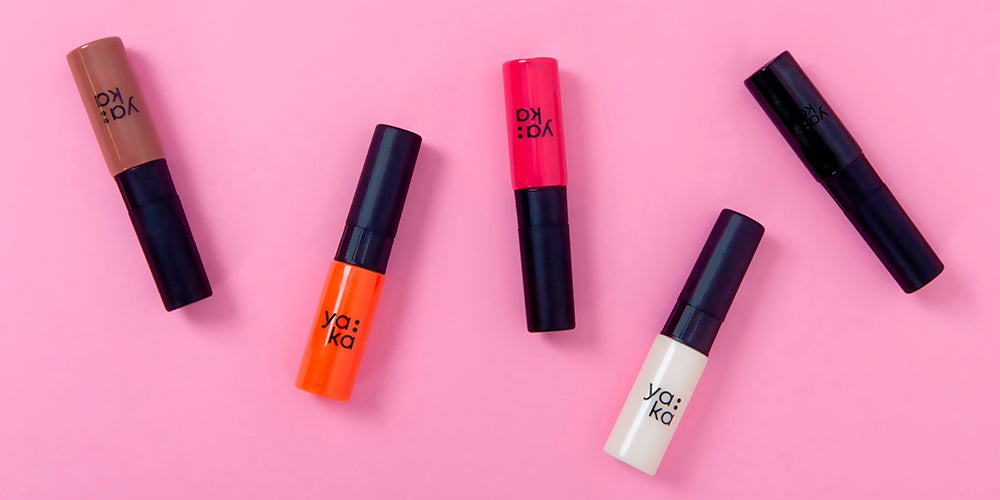
There you go, it's your turn! And for fun and original nail art, discover our 2-in-1 YAKA nail polish kits.